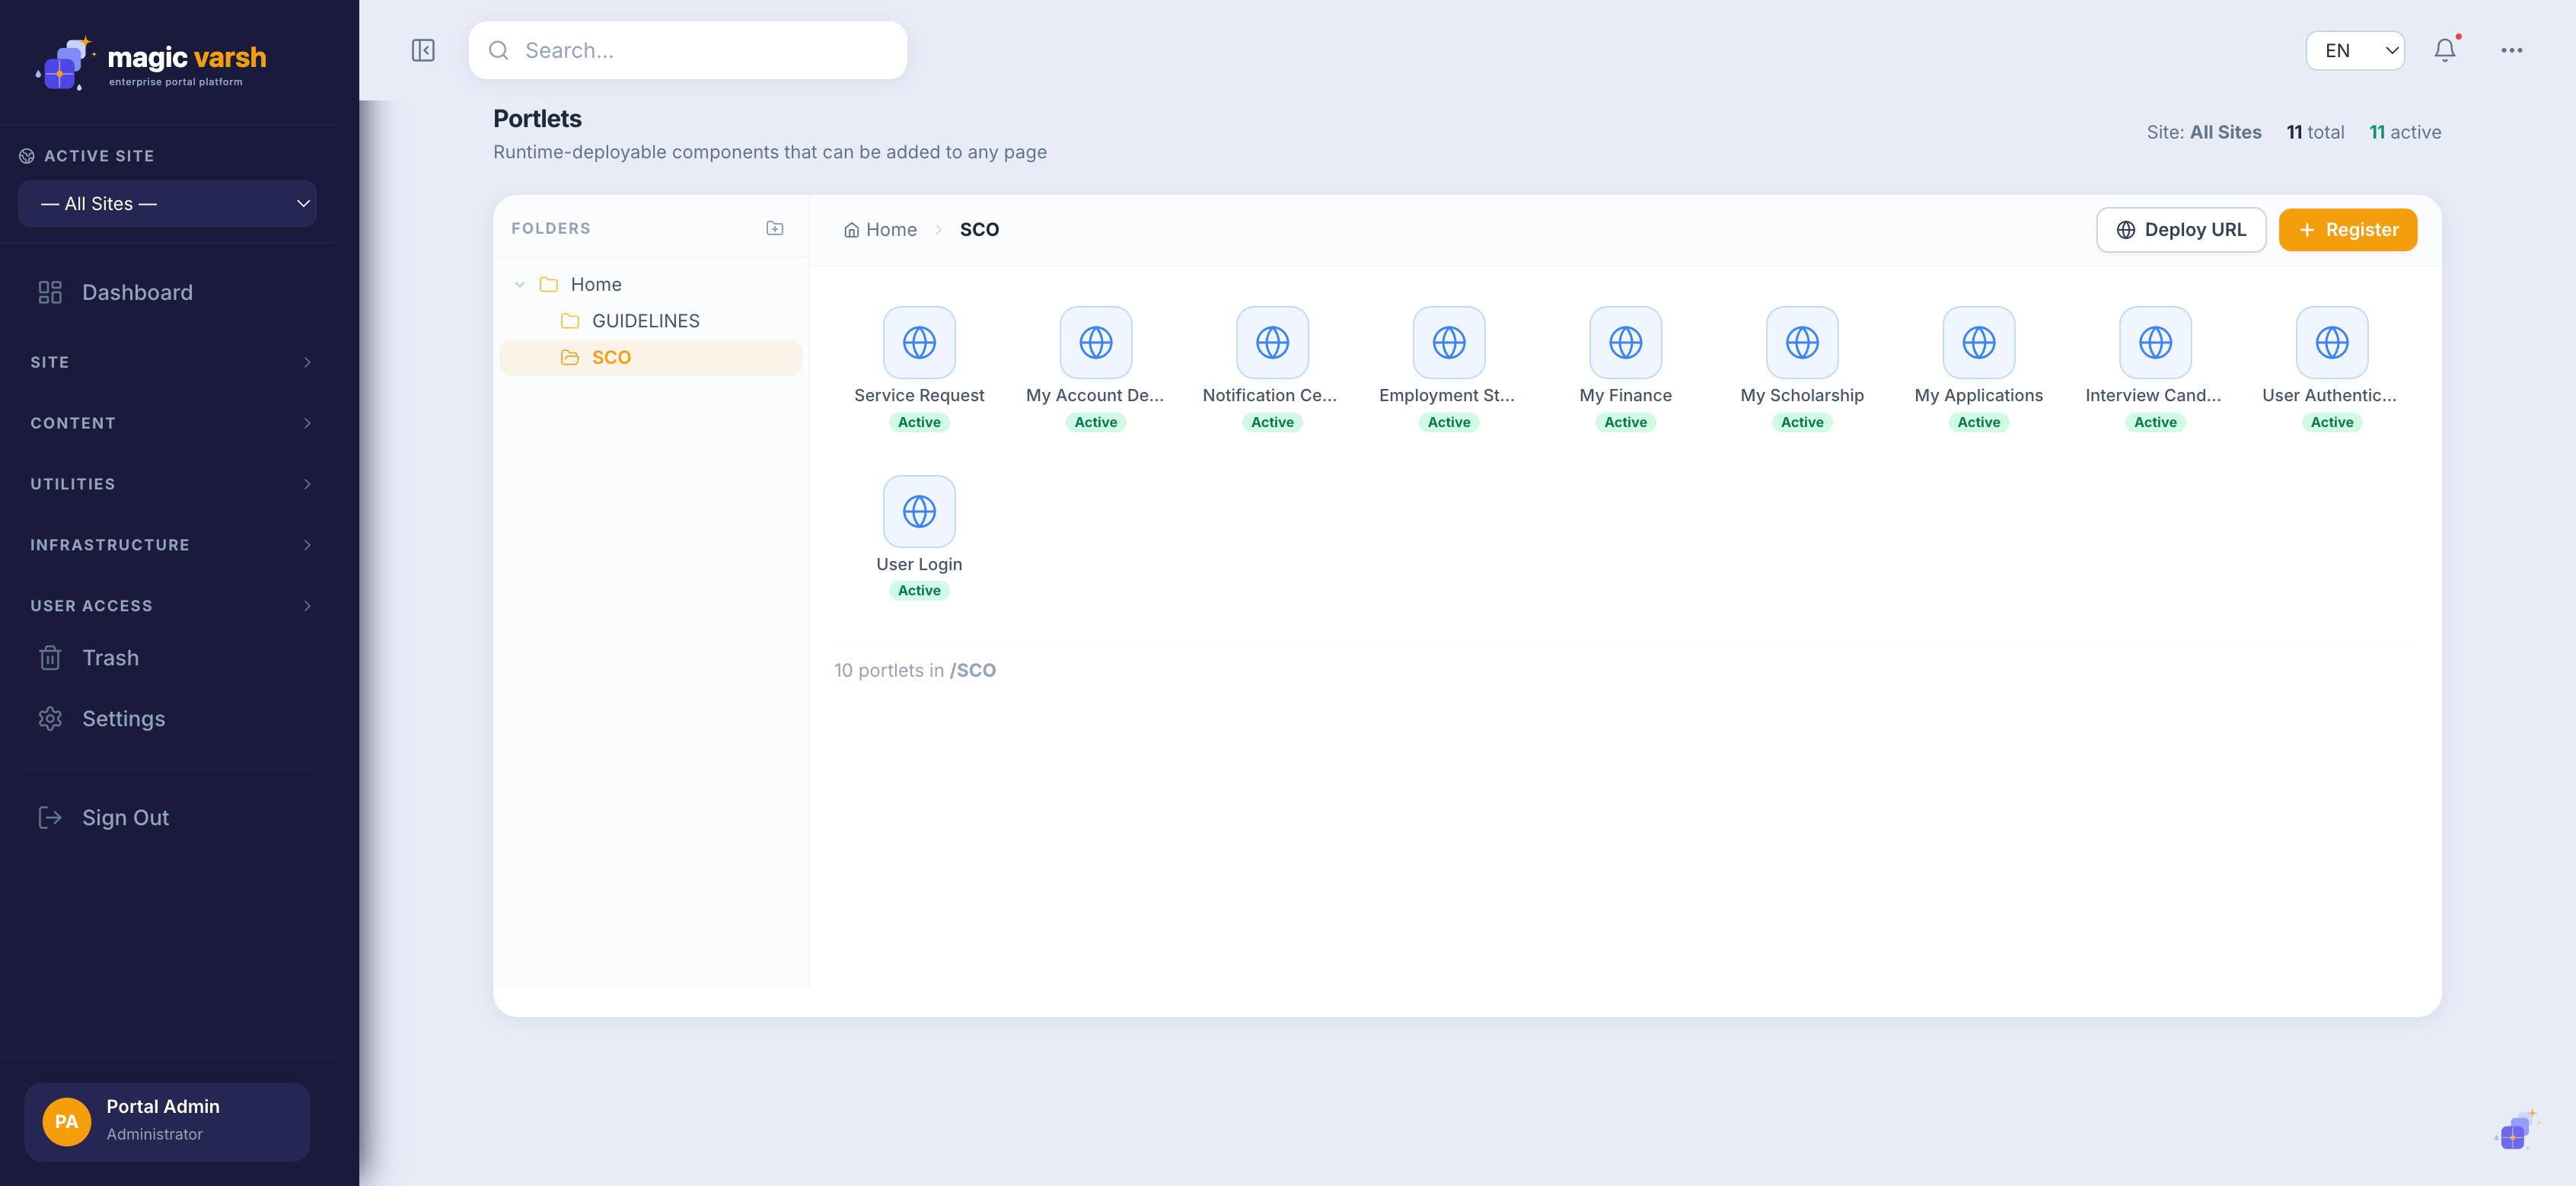
Portlets are reusable, runtime-deployable components you place on pages — a banner, a content list, a form, and more. The platform ships with built-in portlets, you can register new ones (including from a Deploy URL), and you can design your own with the portlet designer. Portlets are organised into folders and scoped per site, and the header shows how many are total and active.
Placing a portlet
- Open a page in the page editor.
- Drag a portlet from the palette into a page region.
- Open its settings to configure what it shows.
- Preview and publish.
Registering and editing a portlet
Use Register to add a portlet to the catalogue and edit its details — name, version, category and configuration. (Developers: the strict build-and-deploy rules are on the Portlet Build & Deploy page.)
The portlet designer
The Portlet Designer lets you compose custom widgets visually and preview them before using them on pages.
Dynamic forms
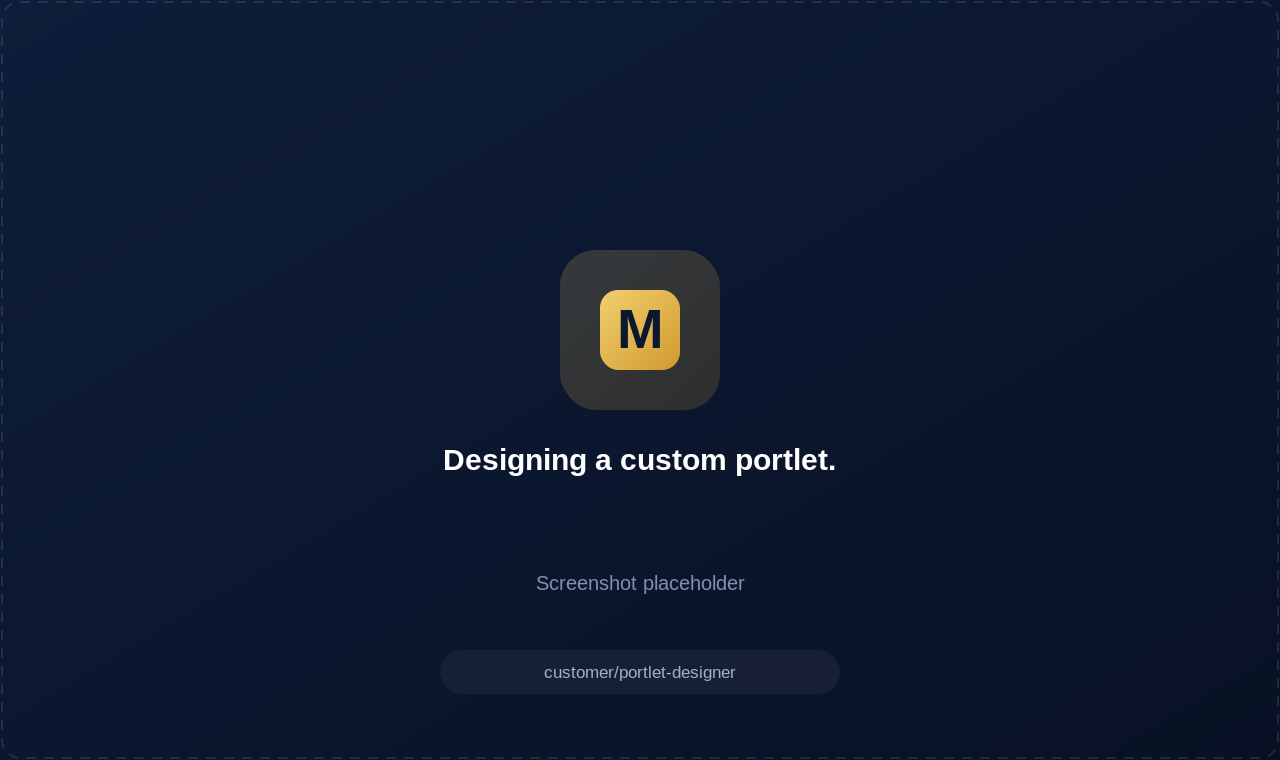
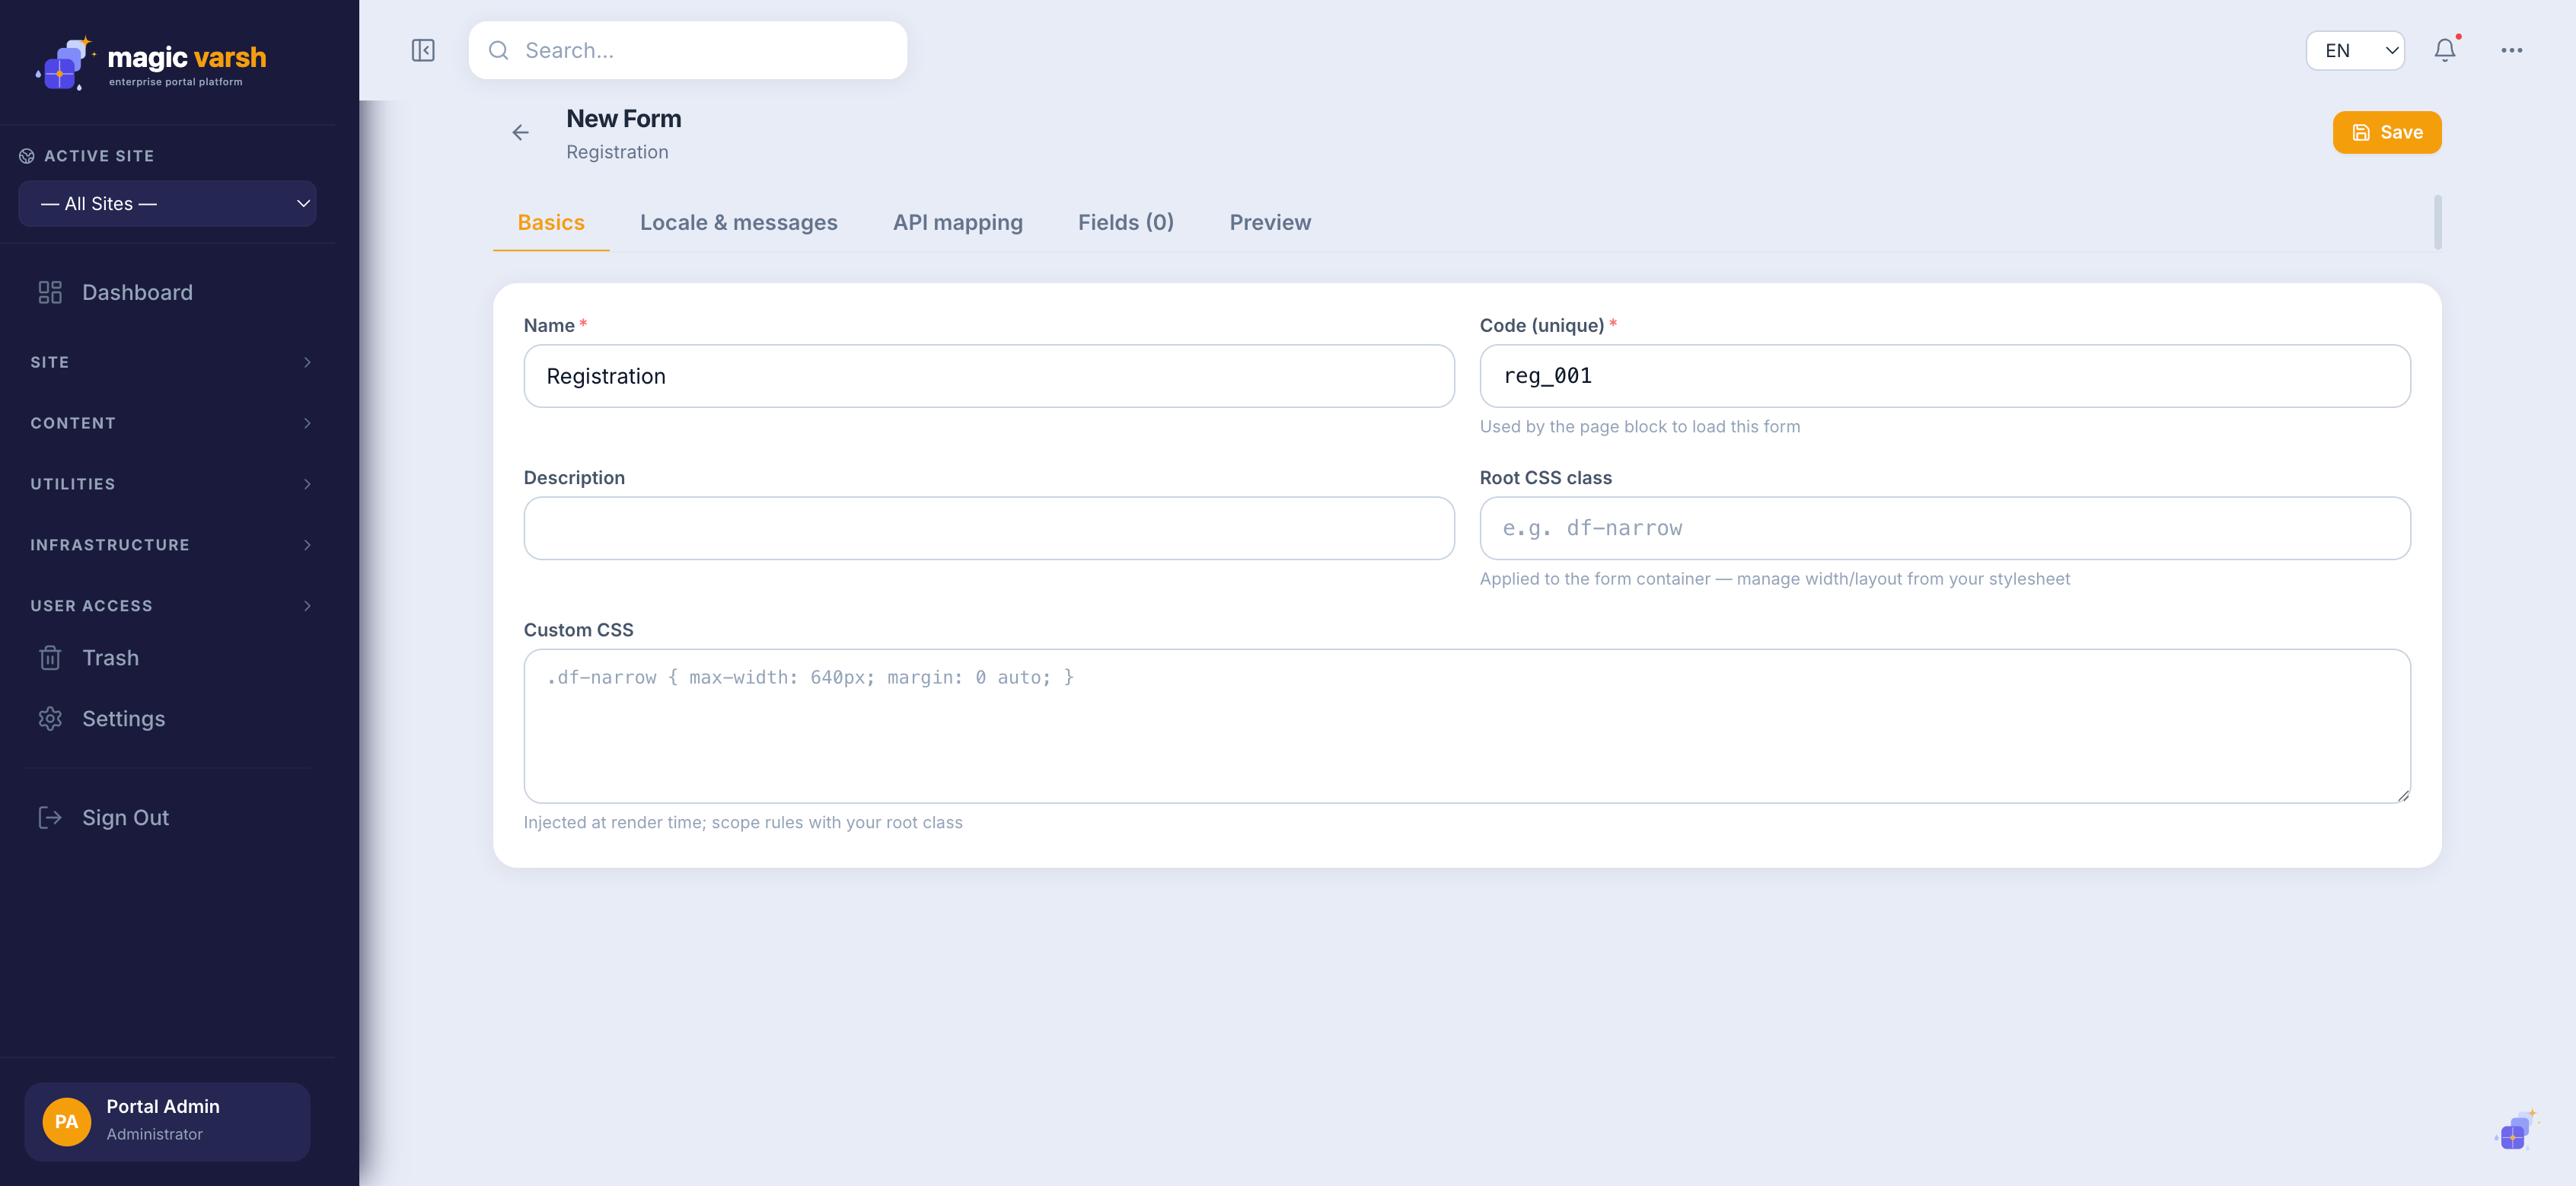
The Dynamic Forms builder creates forms — contact, registration, feedback — without code. Add fields, set validation, and choose what happens when a visitor submits.
Building a form, step by step
- Open Dynamic Forms and select New Form, then enter the form's basic details.
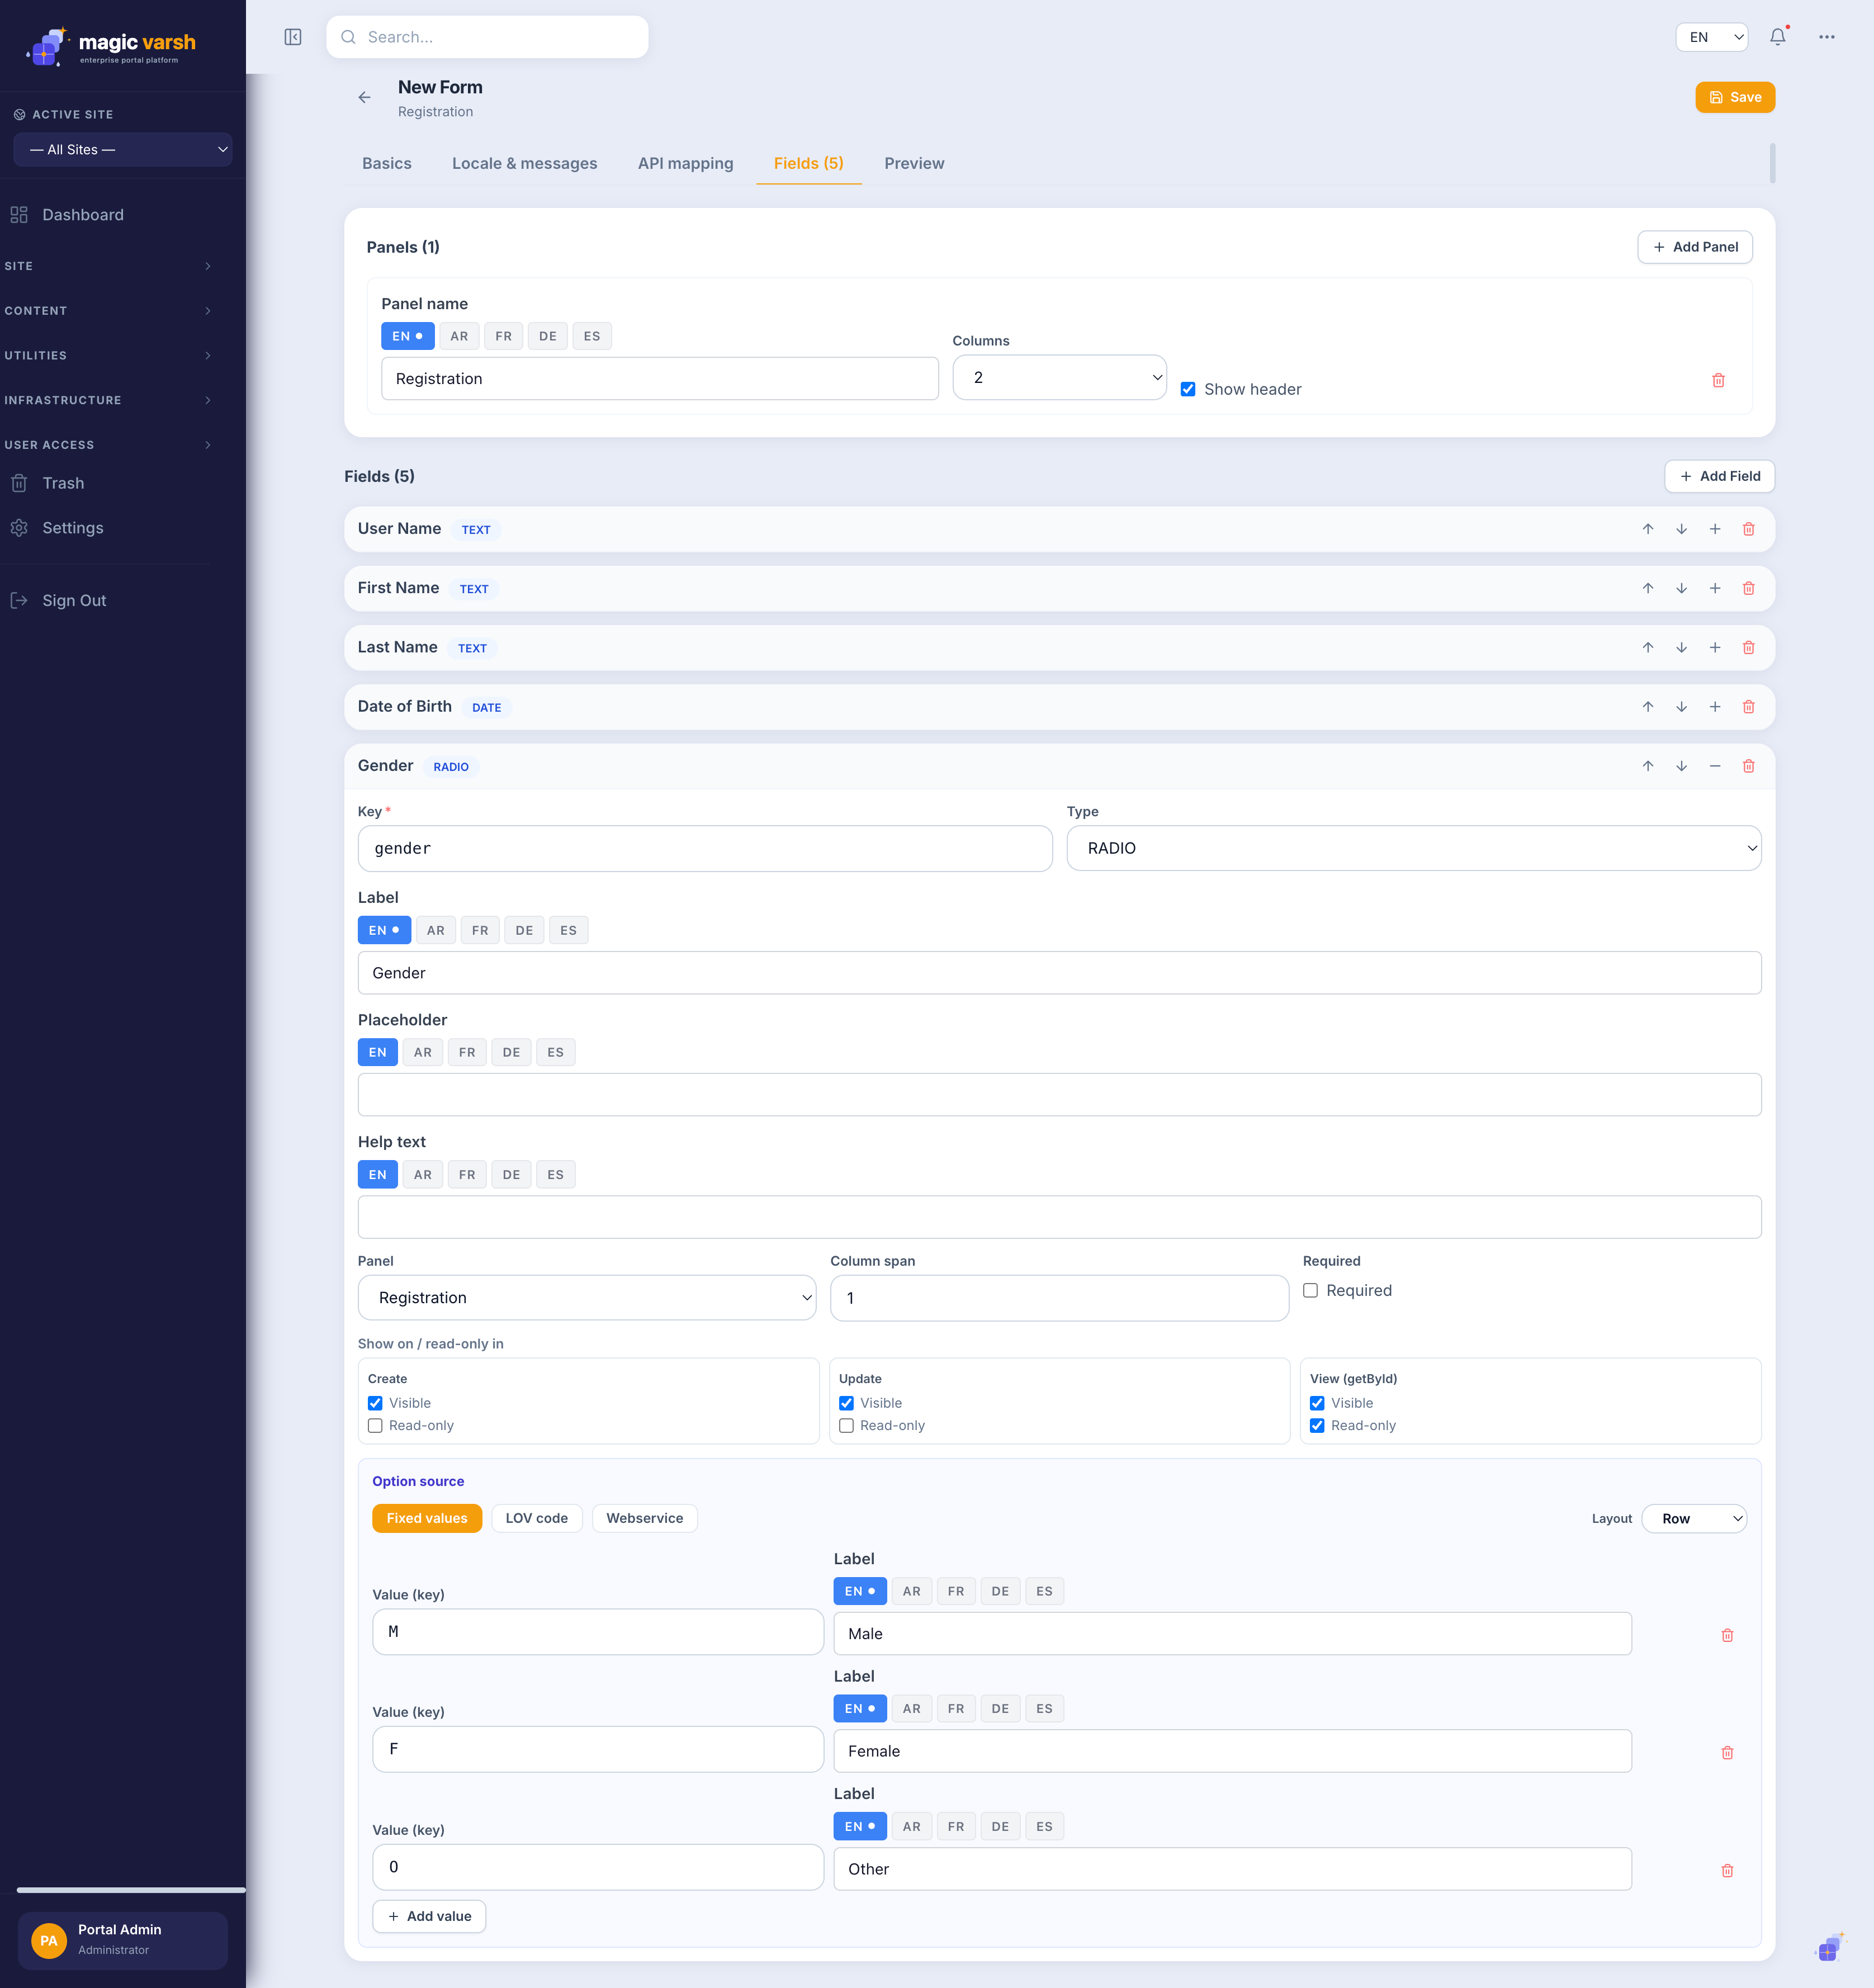
- Add and arrange fields, setting types and validation.
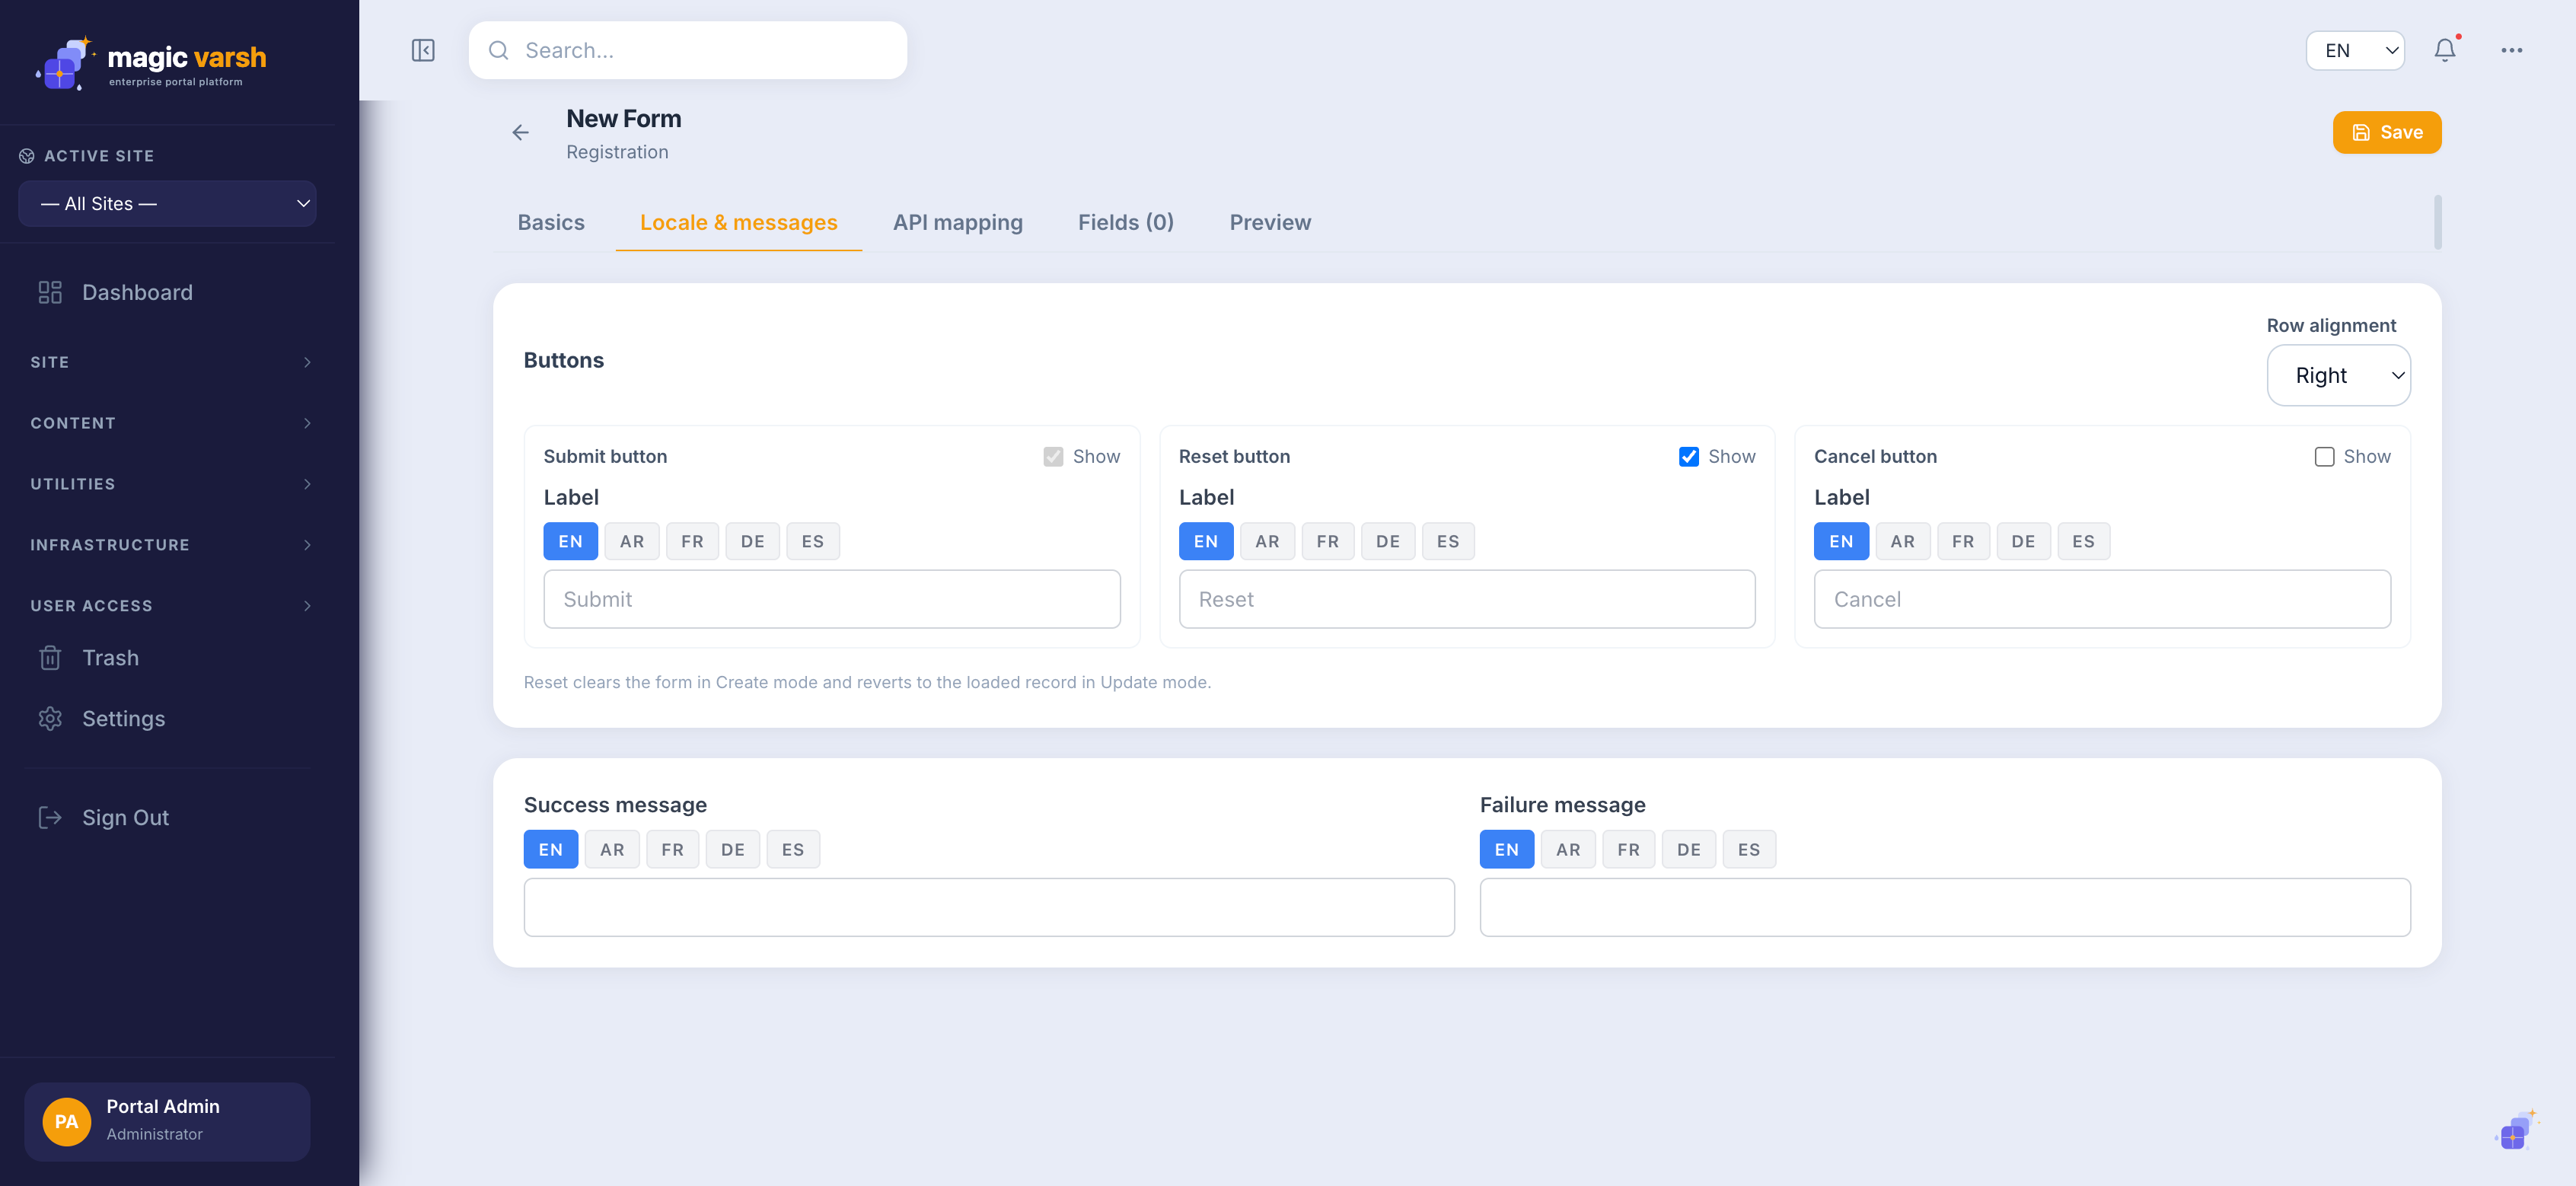
- Provide localized labels and messages so the form works in every language.
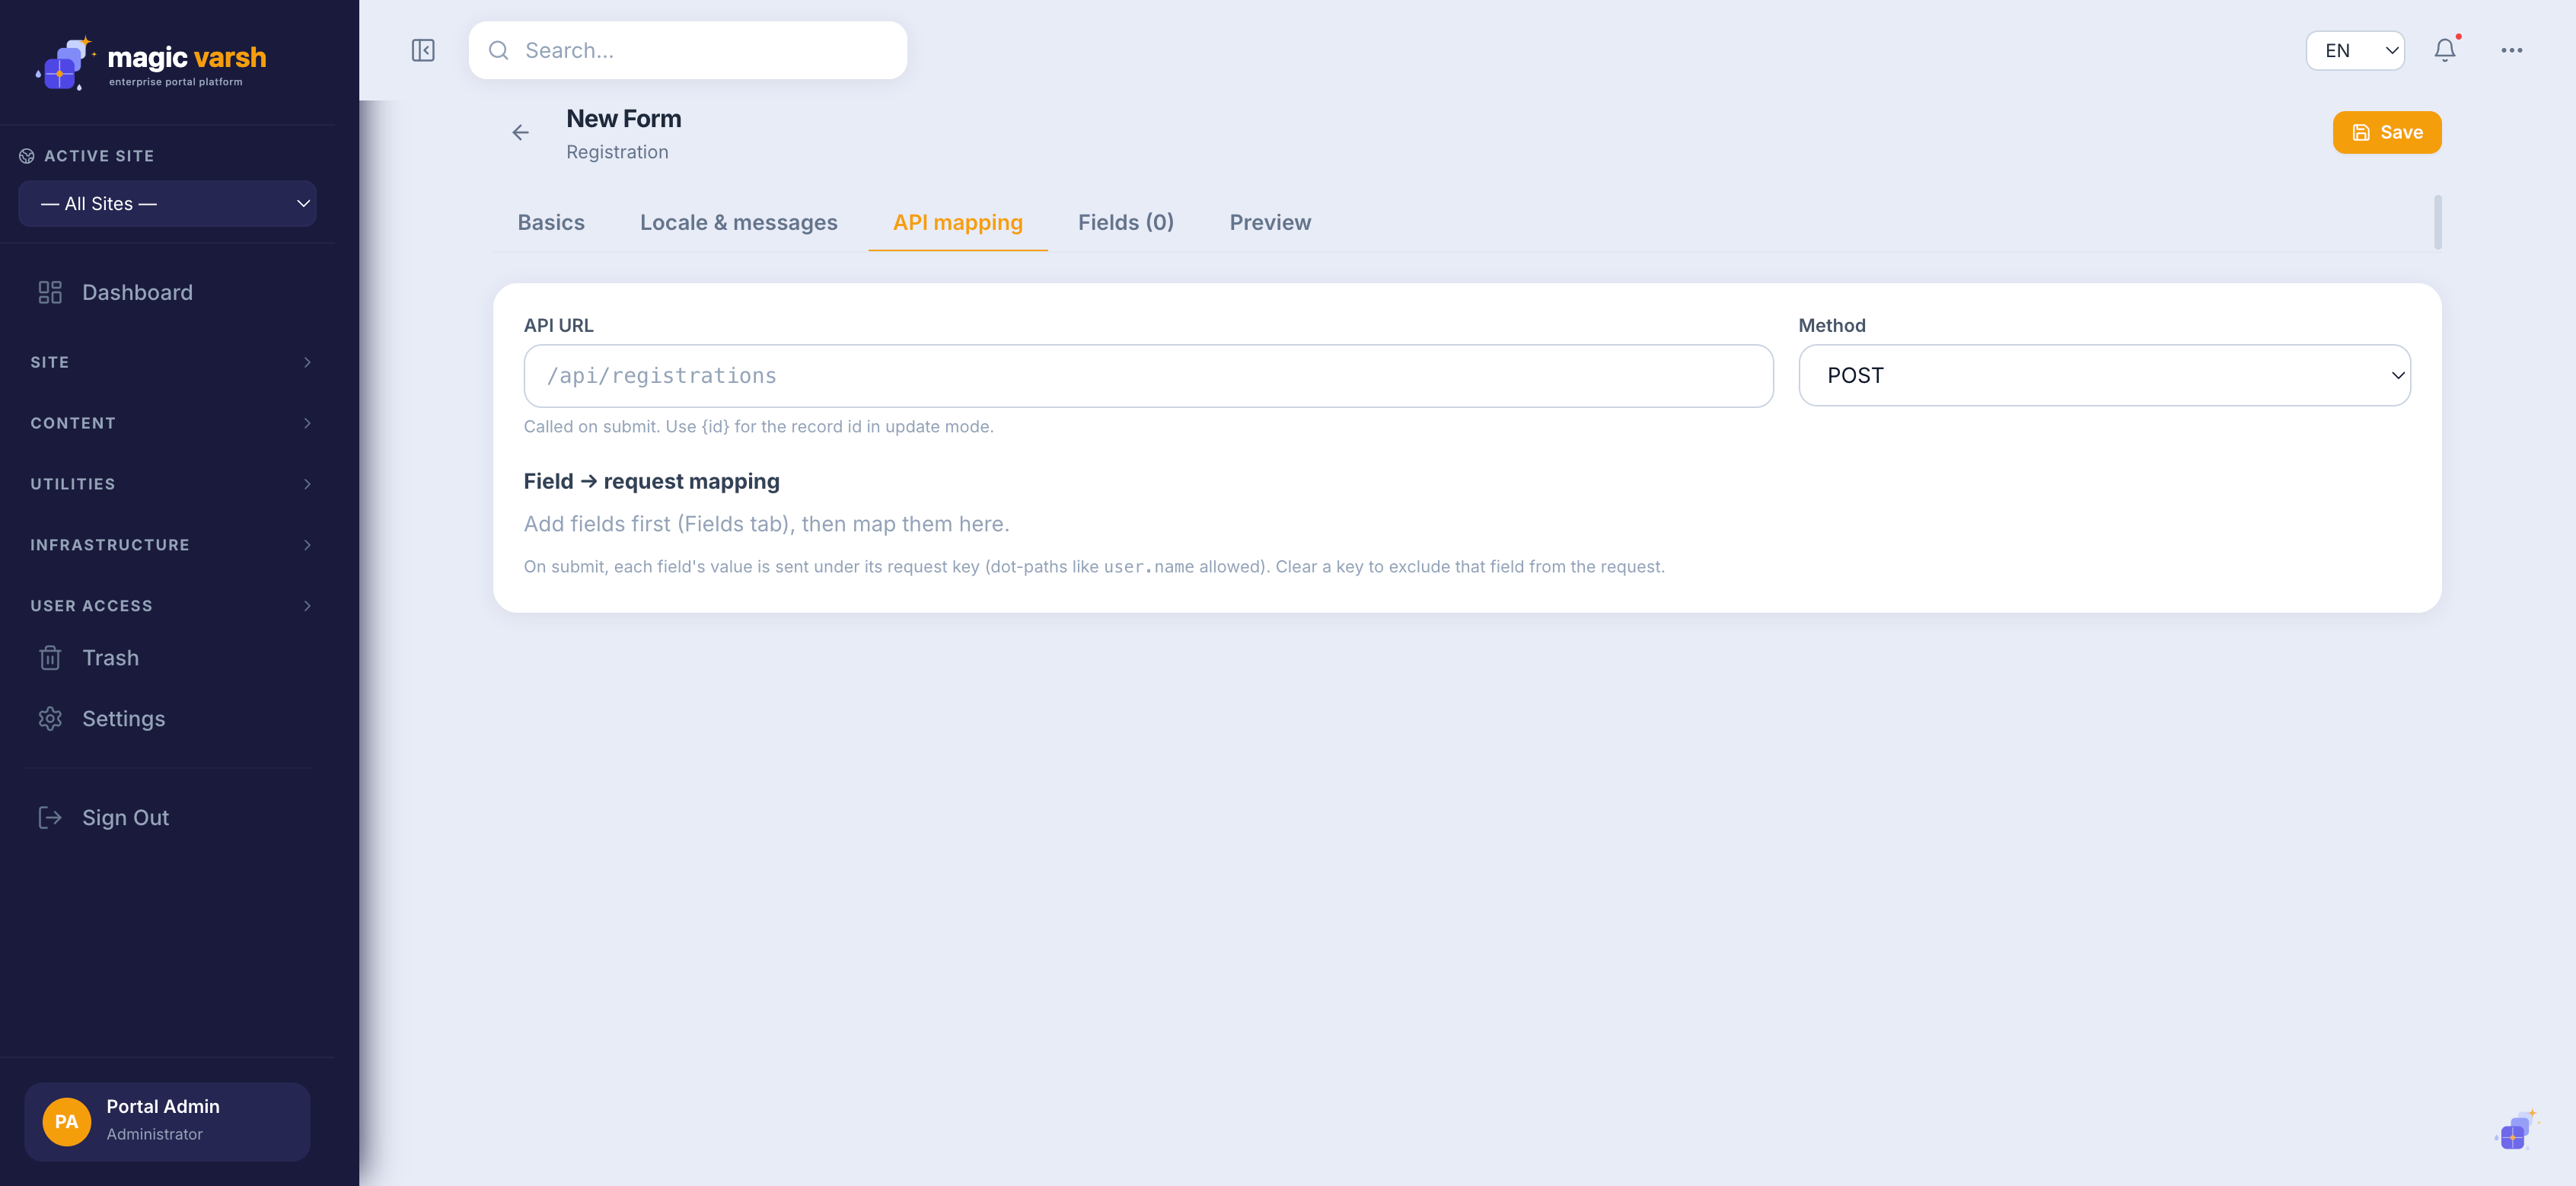
- Map the form to its data/API so submissions go where they should.
- Preview the form, then place it on a page as a portlet.
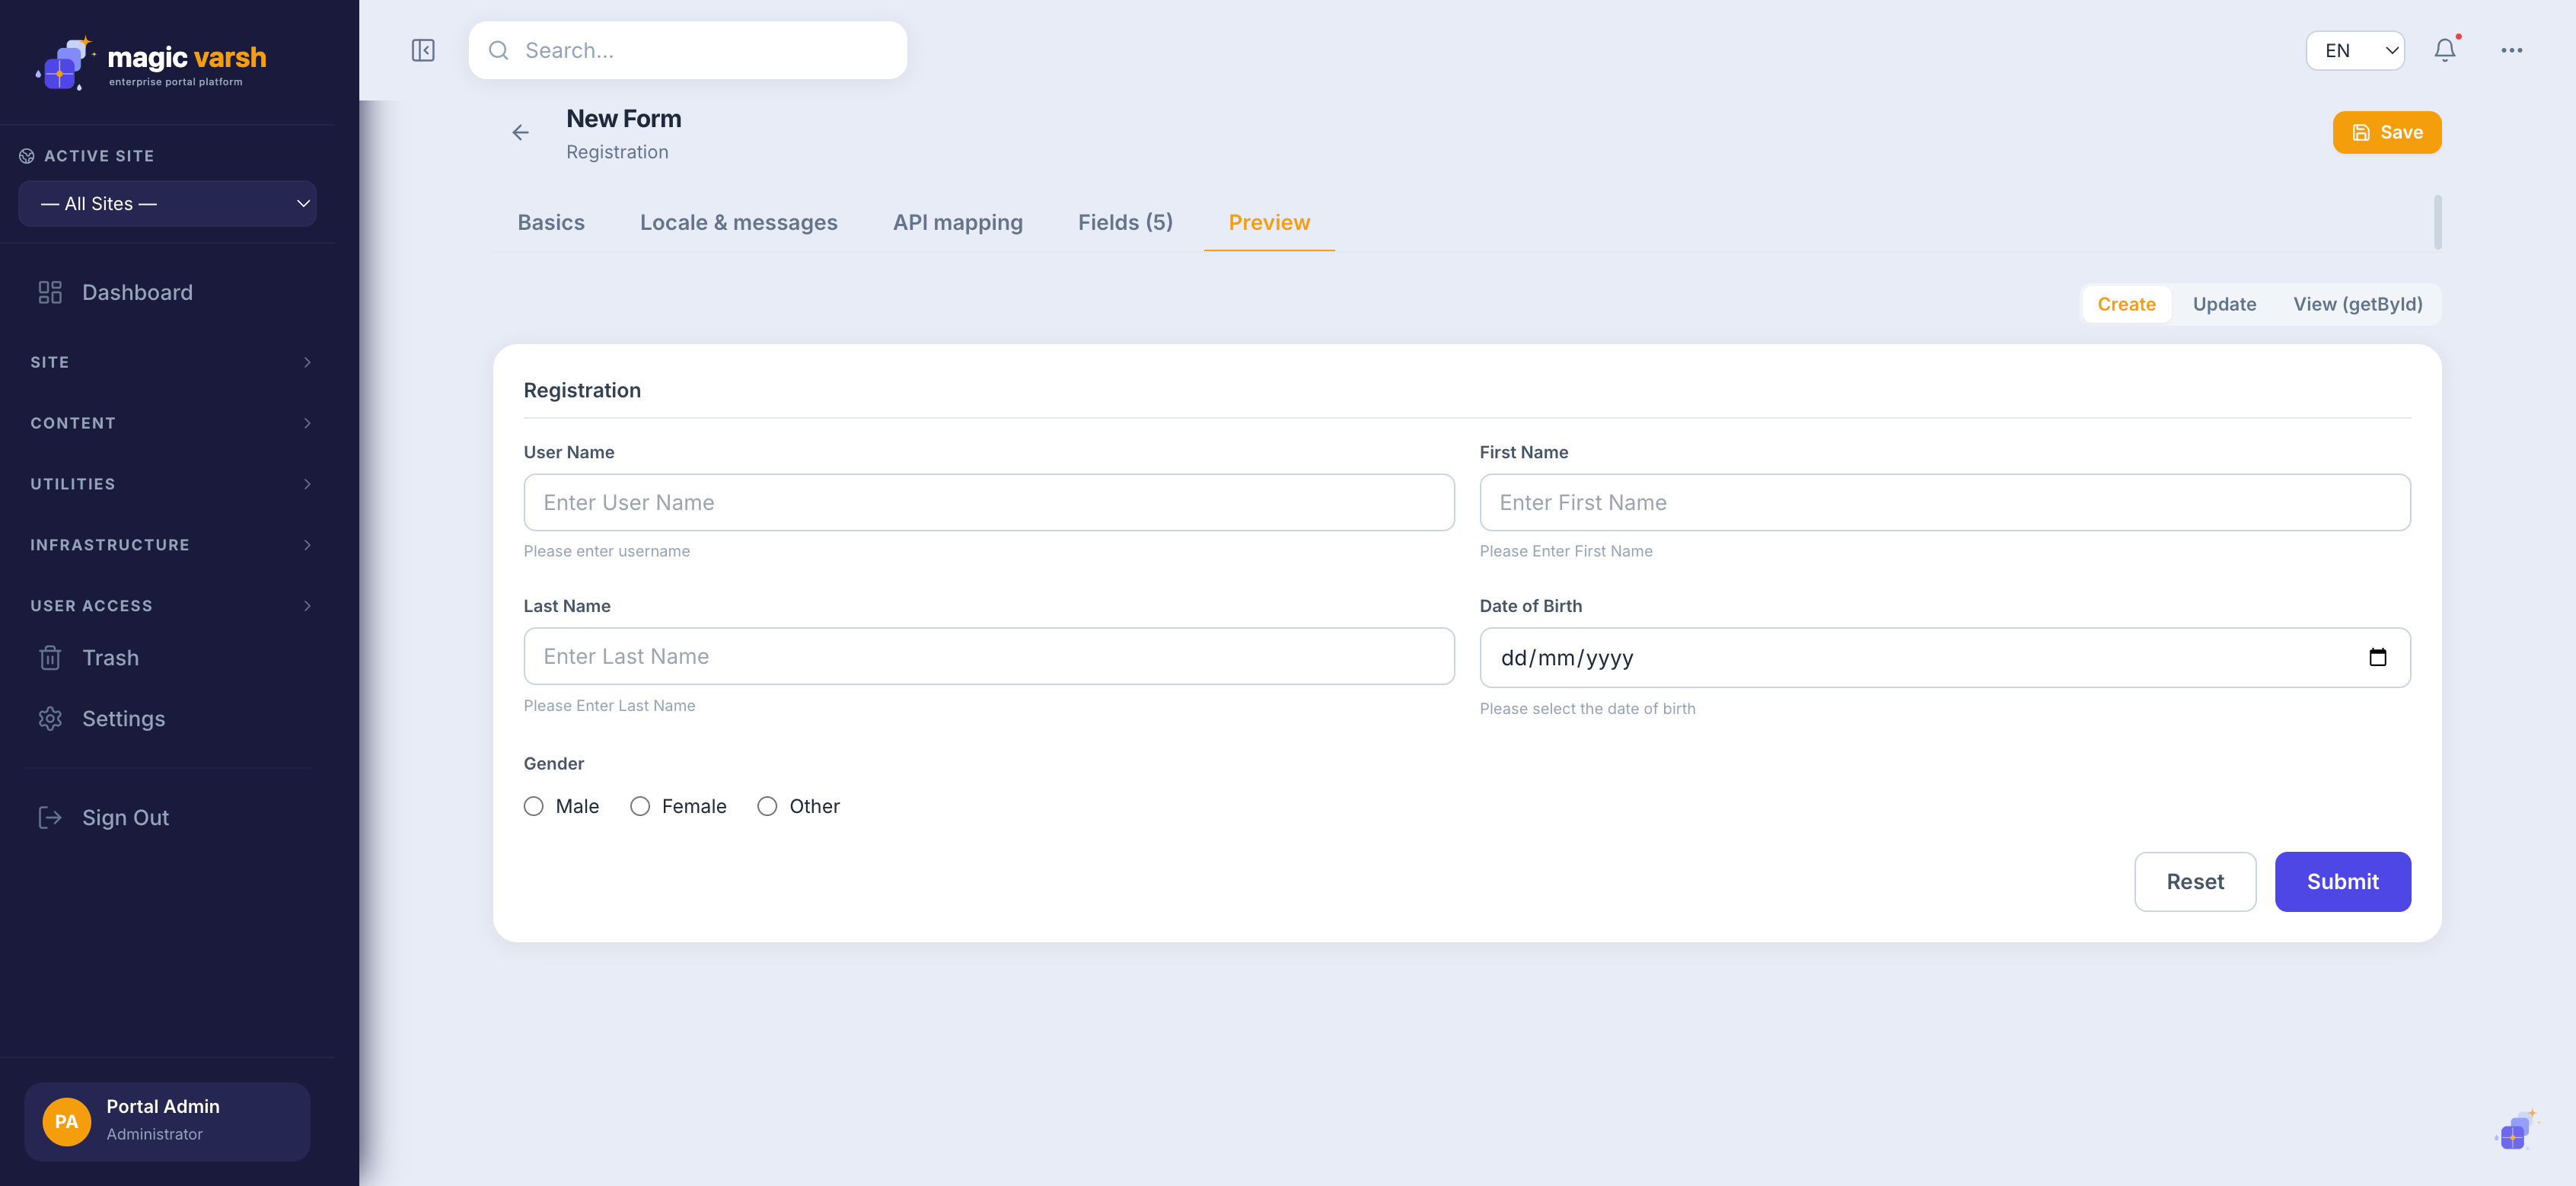
Multi-step wizard forms
A form can be shown as a single page or as a multi-step wizard. In the form builder open the Fields tab and choose Form Layout → Multi-step wizard. Each panel then becomes a step: the panel name is the step title, and the form is shown one step at a time with a progress bar and Back / Next buttons. Fields on a step are validated before the visitor can continue.